How to Tile a New Floor
My boyfriend and I are renovating his house. I mean, if we’re being honest, it’s more so him than me, but who’s keeping track? One of the most recent projects was building a laundry room in an existing spot. The 1950s home previously had plug-ins for a washer and dryer in the garage, but he’s upgrading the area with an enclosed structure.
After constructing a frame for the new 8’ x 5’ space, he assembled the drywall and other components to confine the area. Next up is flooring. He chose a contemporary, versatile porcelain called Uptown Antracite II Matte.
We ordered Adessi 15x30 tiles from Floor & Decor. Each box of four tiles retails for about $34 apiece.
Since he’s much more experienced than I am in this sort of undertaking, most of the next steps will be details from him transcribed by me. He handles outside shizz, I handle inside shizz, and here we are. Feel free to take notes.
STEP 1: Scrape dirt and existing paint off the floor. Our base was concrete so we used a 12” drywall taping knife, but you can also use a paint or floor scraper.
STEP 2: Sweep debris into dust pan.
STEP 3: Use a wet mop (no soap) over the surface to pick up dust and allow the tile adhesive to stick to concrete.
STEP 4: Dry fit your pieces. Lay them out in formation before measuring, cutting, or cementing anything permanent.
TIP: You can use a grease pencil to mark edges or painter’s tape to cordon off your sections to help visualize.
STEP 5: Sharpen your saw blade with a stone sharpener if needed.
STEP 6: We used a wet tile saw, but you can choose what’s best for your project.
STEP 7: Measure and cut your side pieces.
Remember to include any border and edge trims needed so you can cut everything at once.
STEP 8: Mix mortar and water in bucket until you get a peanut butter consistency. (Creamy not Chunky, Silly.)
STEP 9: Starting with your center tile, you’ll want to spread the mortar with a 1/4” square notched trowel. After applying the middle piece, build around it.
TIP: Adhere your full-sized tiles before placing the cut pieces.
STEP 10: Once tiles are in place, use spacers between each unit for consistent grout lines.
STEP 11: Use a level to release any air pockets and make sure your tiles are flat.
STEP 12: Let the mortar set for 24 hours and then remove the tile spacers.
STEP 13: Wipe excess mortar off of the surface of tiles with a wet sponge (water only).
STEP 14: Mix grout and water to peanut butter consistency. (Sound familiar?)
STEP 15: Use a rubber grout float to spread the mixture between the tiles. Apply at a 45-degree angle with medium pressure to ensure all gaps are filled.
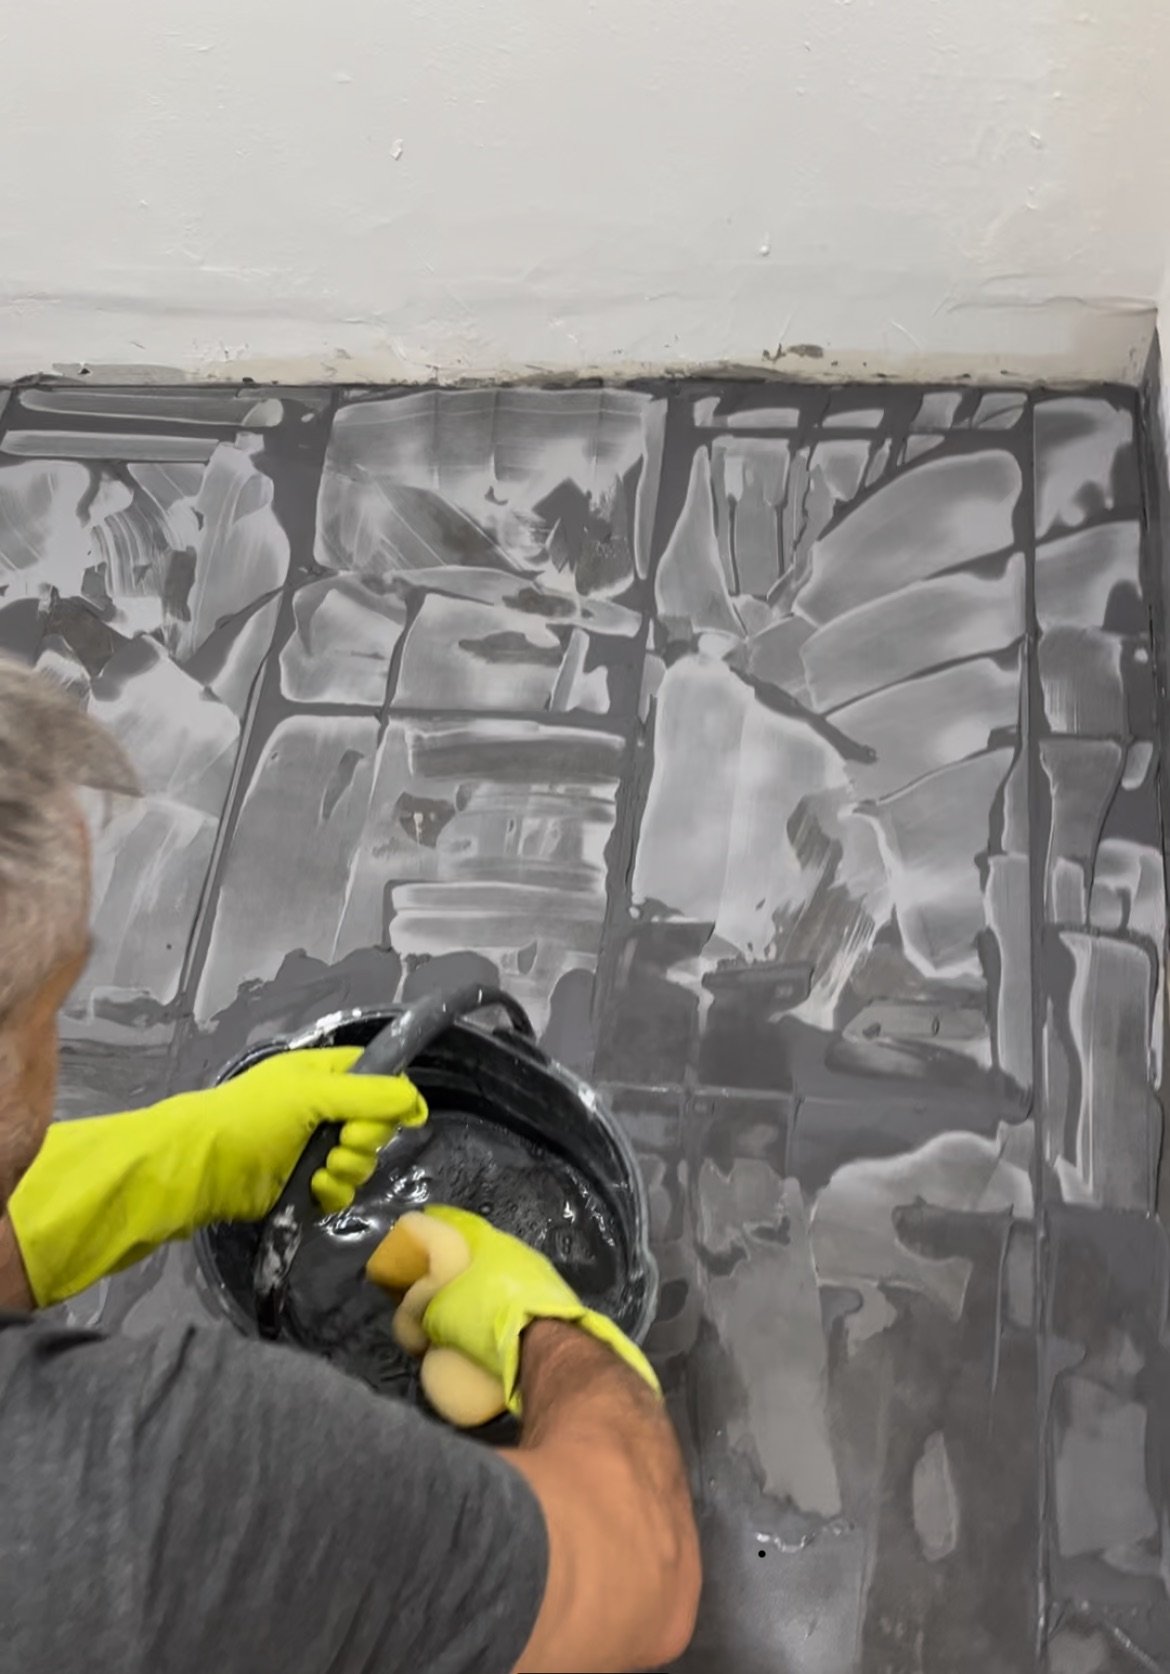
STEP 16: Let grout dry into a light haze. It should look like a chalky film on the surface of the tiles.
STEP 17: Using a clean bucket of water and a sponge, wipe the haze off the tiles. This is so satisfying! You’ll need to refresh the water frequently.
TIP: Do not let the grout dry completely. It’s a pain in the ass to continuously change the water bucket, but it’s a must-do, or you’ll have unsexy grout streaks forever.
STEP 18: Let the grout dry for 24 hours.
STEP 19: Apply high-quality sealer on grout lines to keep them looking new.
Step-by-step instructions on how to tile a concrete floor in less than one minute
SUPPLIES:
-Tiles (We used 15x30 Adessi porcelain tile in Antracite II Matte)
-Grout (We used Mapei Ultracolor Plus FA in Pearl Gray)
-Mortar (We used Mapei Ultraflex LHT SG thinset)
-Sealer (We used Miracle Grout Sealer)
-Mixing paddles
-Tile saw
-1/4” Square notched trowel
-Rubber grout float
-Tile spacers
-Buckets
-Sponge
-Broom/dustpan/mop
-Tape measure
-Grease pencil (to mark tiles for cuts)
Before and after DIY tile


